
Set Up Your Own VPN Server

🎯 This will come in handy — save it. Better yet, don't save it, just do it now!
Fed up with bandwidth throttling? We had another round of it last week. You already know a VPN is the most reliable way to reach blocked sites. Some of you use free VPN services for this. The downsides of free services: they're slow, they drop constantly, and there are privacy and security issues.
Others have tried paid tools like HotSpotShield or PureVPN. The main problems there: high subscription fees and, because they're such well-known services, the state can block access to them too when throttling is applied — so they stop working.
🚀 So what's the solution?
For less than those services ~$6/month, set up your own VPN server in a few clicks and enjoy freedom with no blocks and no speed drop. Below I've laid out this simple setup step by step. This one's my treat to everyone. 😎
Step-by-step setup
Go to digitalocean.com and create an account if you don't have one. If it asks for your credit card during signup, you can safely provide it; it won't charge you until you actually create a server.

After creating your account, click the Create button at the top and choose Droplet from the menu that opens.

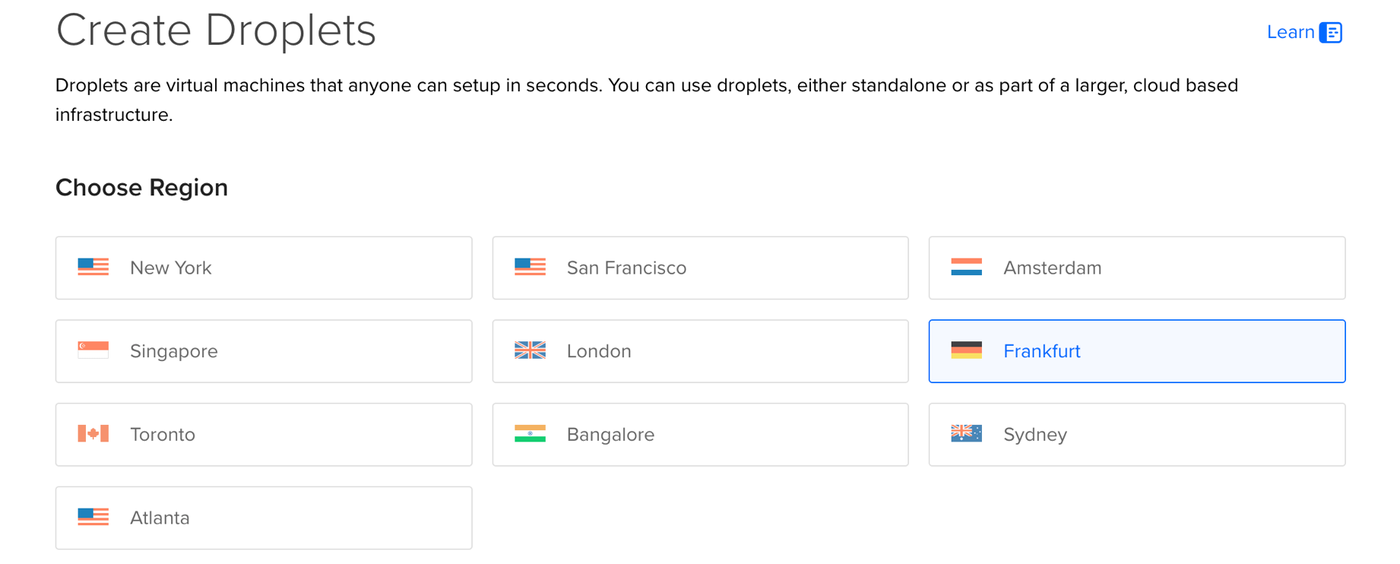
On the page that opens, choose the region where your virtual server will be hosted. Pick one close to where you physically are. For those connecting from Turkey, Amsterdam or Frankfurt are good options.
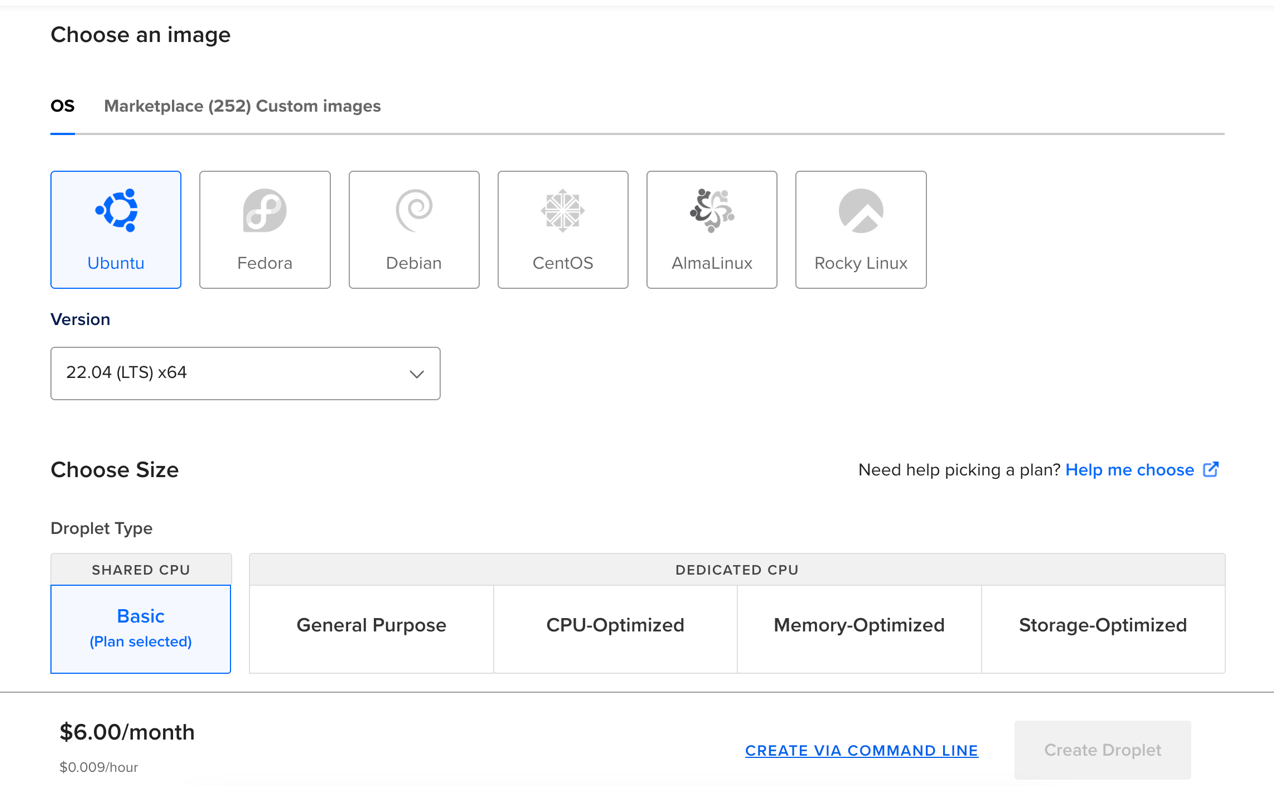
Scrolling down the same page, when you select Ubuntu as the operating system and Basic as the Droplet type, you'll see the monthly cost calculated at $6 at the bottom of the screen.
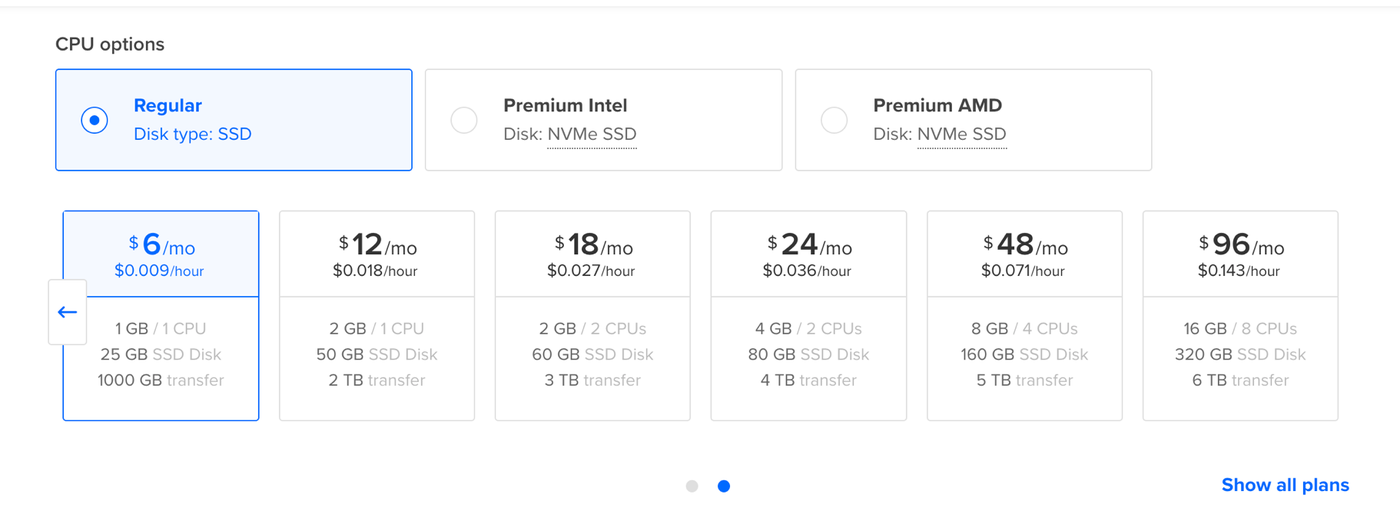
For the CPU, you can pick the cheapest options too. Since you won't be connected all the time or sharing it with hundreds of people, it will be more than enough.
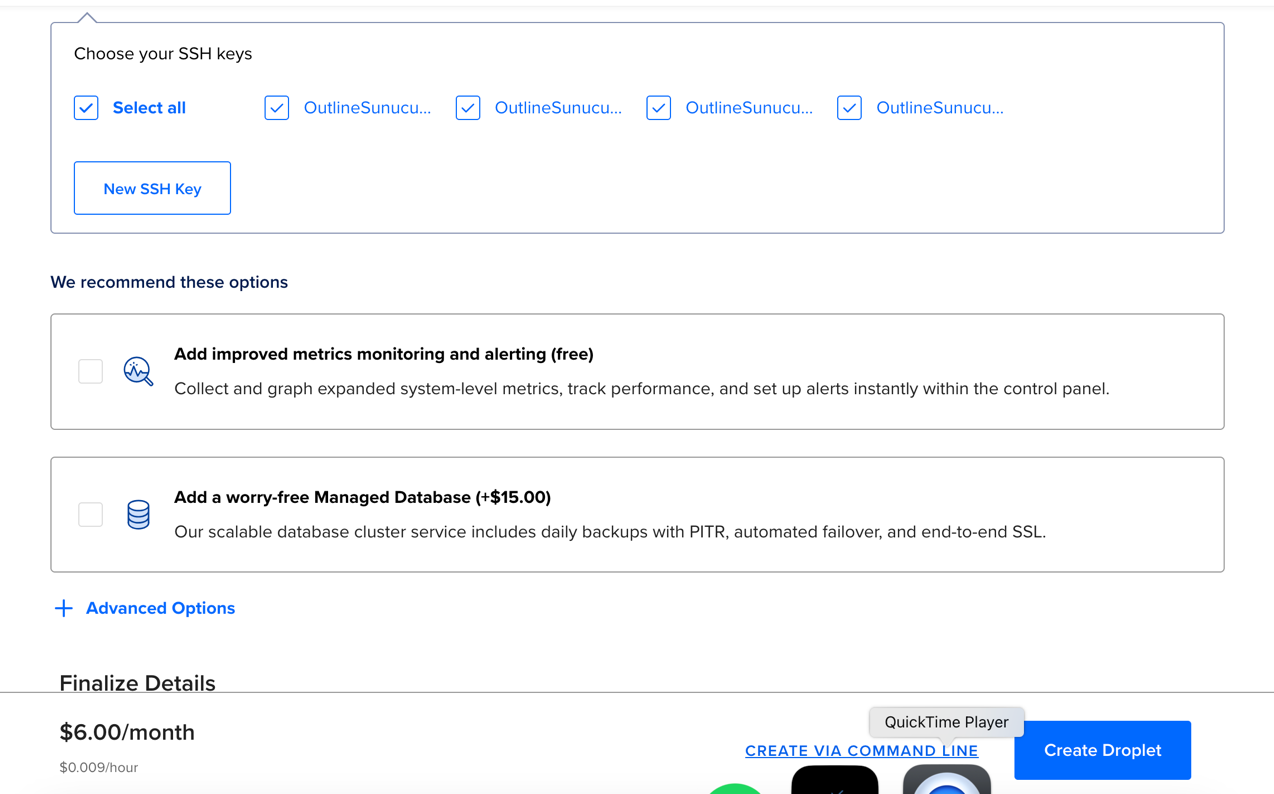
Finally, in the SSH key section choose Select All, then press Create Droplet at the bottom right to create your server. Close the tab.
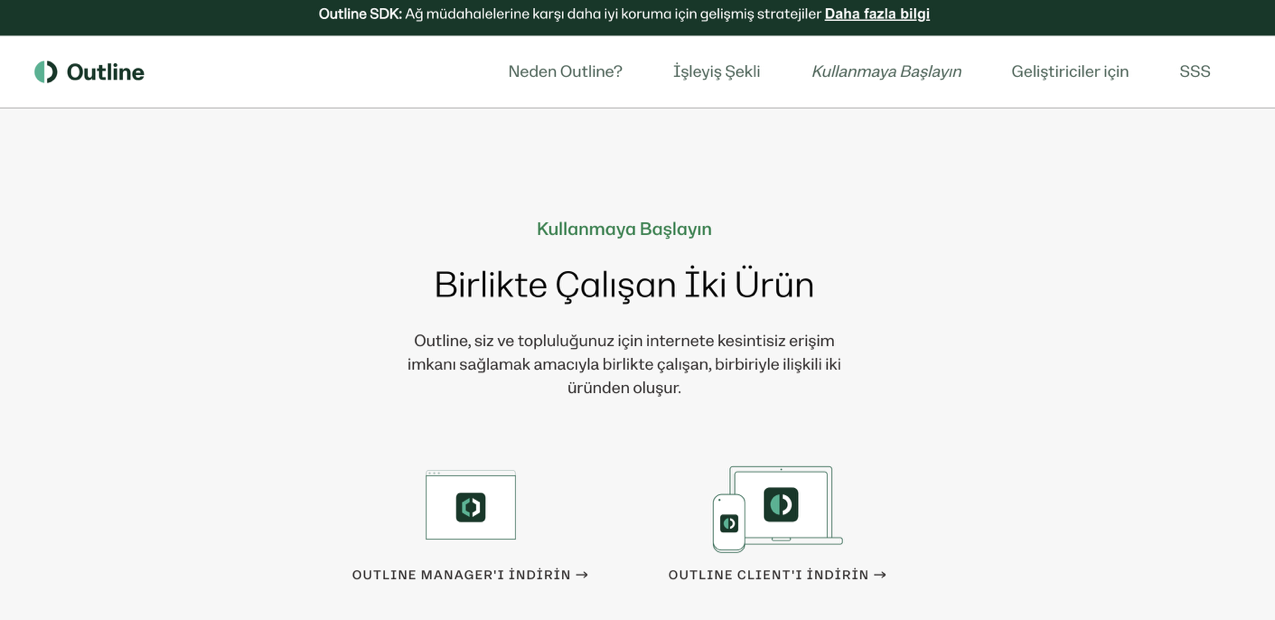
From getoutline.org, download both the Manager and Client software. You'll use the Manager to create your own private key, and the Client to connect to your VPN service using that key.
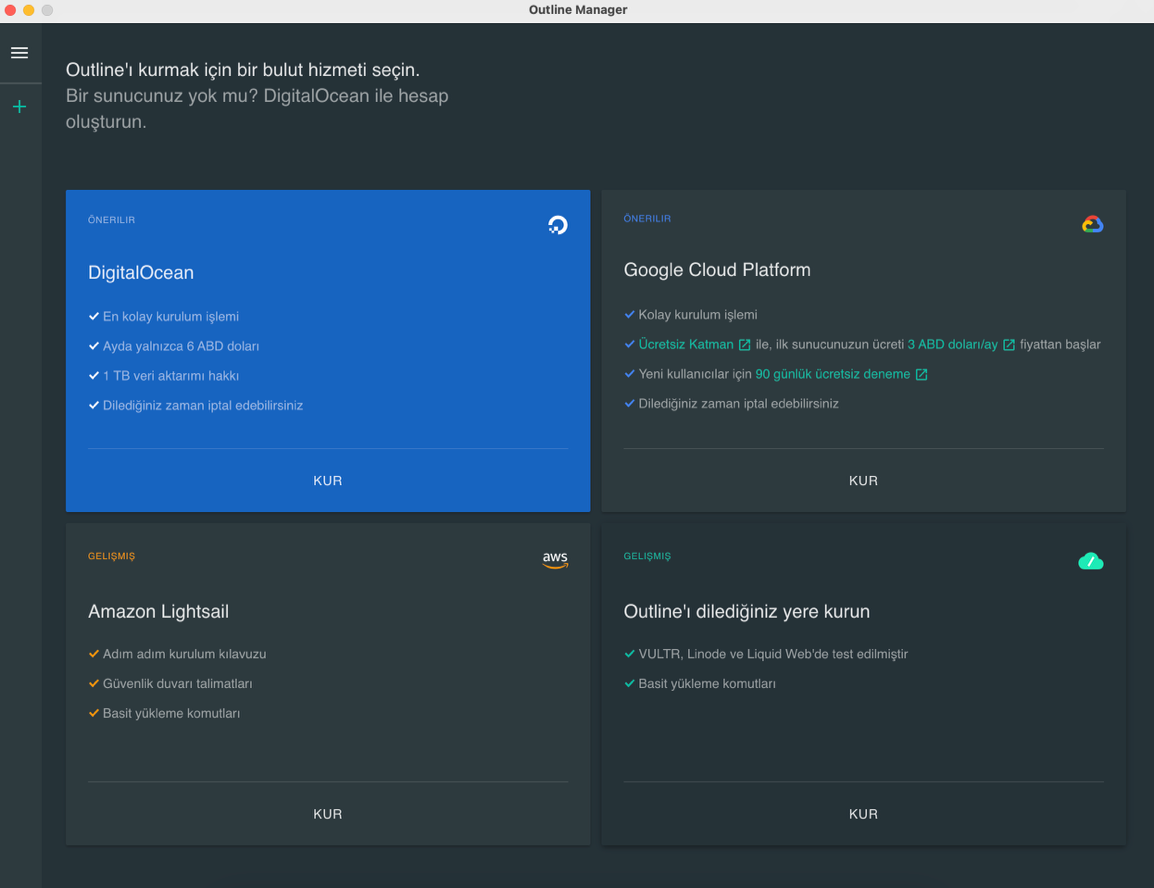
First open the Outline Manager. You'll see DigitalOcean selected by default. Click where it says “Set up.”
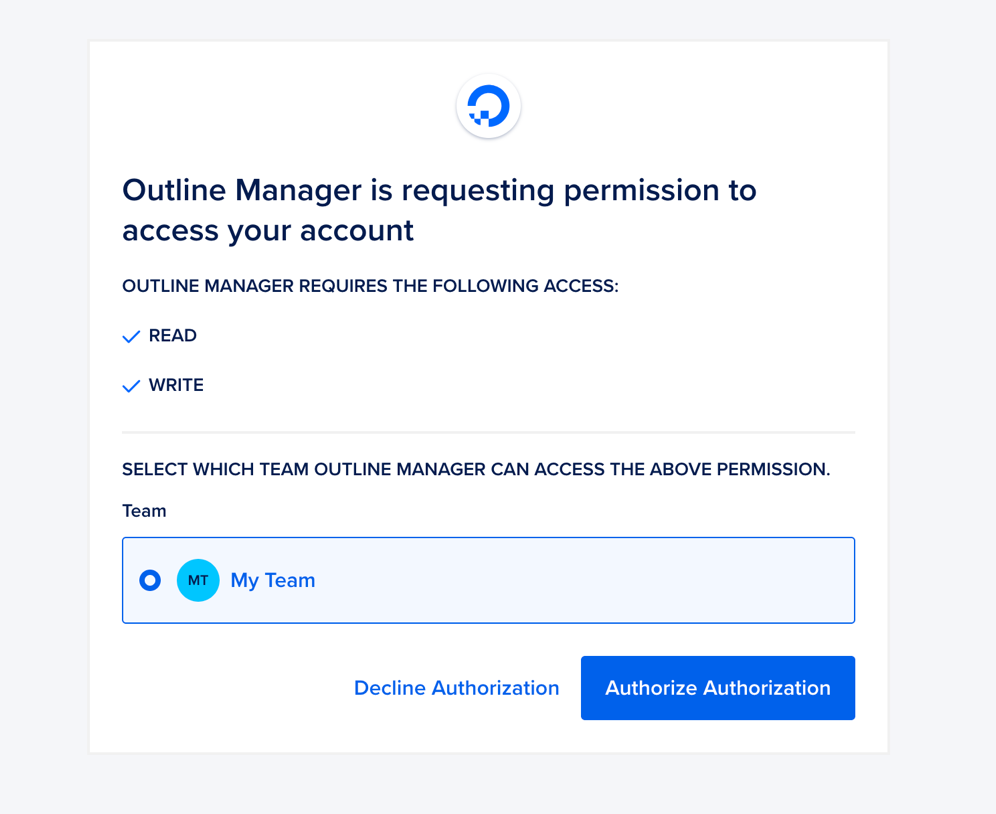
It will redirect you to the DigitalOcean website. If you logged out of DigitalOcean, you'll need to log in again. If you didn't log out, the account you created will appear and you just need to press the Authorize Application button.
Back in Outline Manager, add your VPN server by pressing the green + button in the left menu. It will ask for a region; again pick the one closest to you and press Set Up Outline at the bottom left. The setup completes within a few minutes.

Once setup finishes, you'll see your server installed in the region you chose in the left menu. On this screen, press the “Add new key” button at the bottom.


Pressing the button creates a new SSH key for you. Pressing the button marked in red reveals the generated key. Copy it using the copy access key button. We're now done with Outline Manager.


Run the Outline Client you downloaded. It will ask for a key right away. Paste the key you just copied (only once) and press Connect — within 1-2 seconds you're connected to your VPN server; press Disconnect and it closes just as fast. While connected, you can use the internet both uncensored and at nearly the speed your own ISP provides.

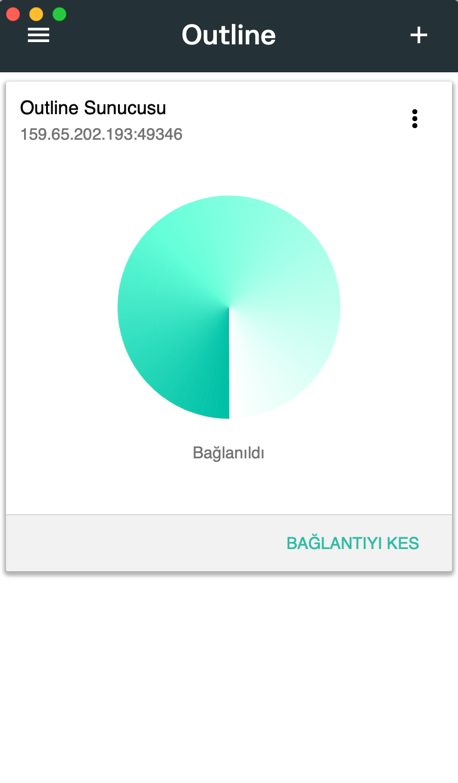
Use it in good health! 🙂
← All posts